Makeup used to be an absolute NIGHTMARE for me any time that I wanted it to stay in place for a long time. Going to concerts or parties where I need my makeup to last for hours when I’m hot, sweaty, and being active was not a fun time for my face. I would think my makeup would last a long time, then it ended up melting off my face and turning into a drowned raccoon look really fast. But now I know how to make my makeup last forever, and it’s easy!
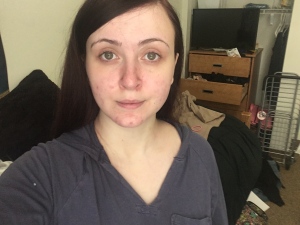
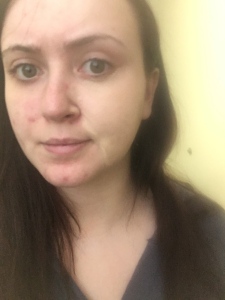
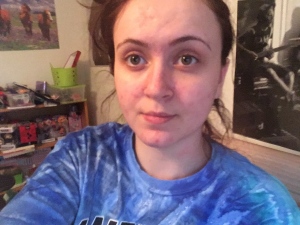
Before:
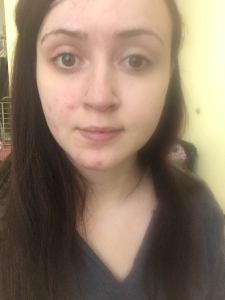
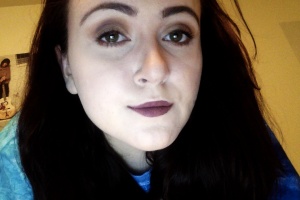
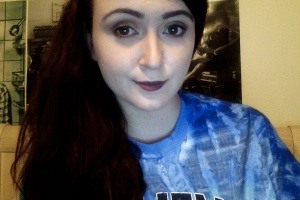
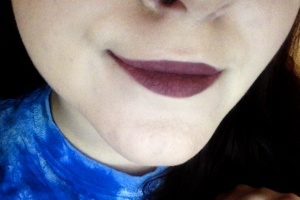
After:
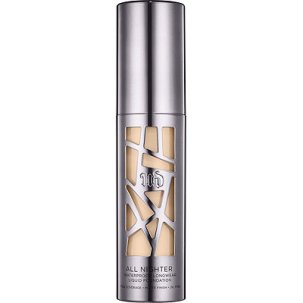
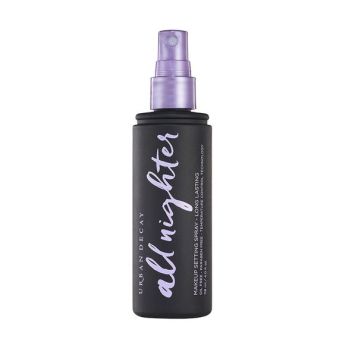
- To start I spray Urban Decay All Nighter Setting Spray all over my face. Then I go in all over my face with Benefit Porefessional. Seems over the top, but I need to be over the top to make my makeup really stay.
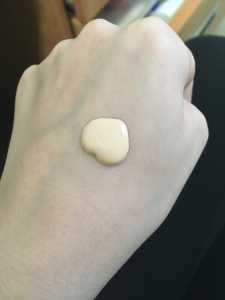
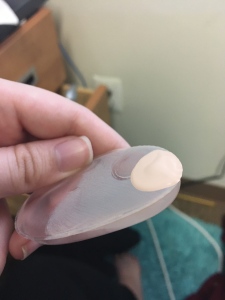
- Next, I take Urban Decay All Nighter foundation and dot it all over my face, then blend it in with a damp beauty blender.
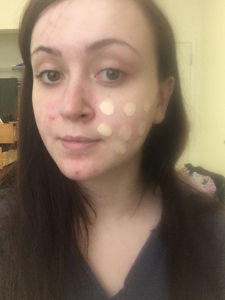
- I take my Maybelline Age Rewind concealer and apply it in an upside-down triangle underneath my eyes, on my chin, and in a strip up the bridge of my nose. I conceal blemishes with Maybelline Master Conceal. I blend them both together, since I let the Age Rewind sit and set for a little bit before blending it.
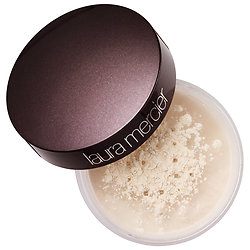
- Next, I take the same damp beauty blender and dip it into my Laura Mercier Loose Setting Powder and cake it on under my eyes to bake. I also bake my chin, up my nose, and under my cheekbones to reaaaallly set it in. I leave the bake on until I’m finished with my eye makeup, so it doesn’t have a set time for me.
- For my eyebrows, I just fill in the sparse bits with the Anastasia Beverly Hills Brow Definer.
- Next, I prime my eyelids with Too Faced Shadow Insurance Anti-Crease Eye Shadow Primer. I honestly just use this because it is what I currently have, and I prefer the Urban Decay eyeshadow primer.
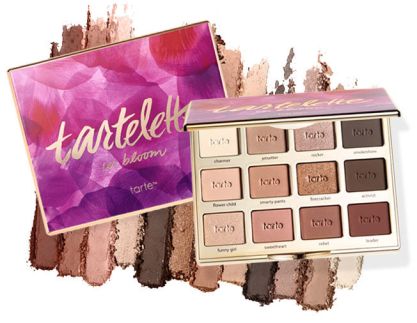
- For eyeshadow, I used the Anastasia Modern Renaissance palette.
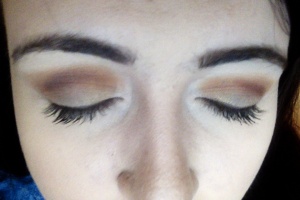
- Tempera all over the lid, in the inner corner, and up to the brow bone with a regular fluffy brush.
- With the same fluffy brush, I blended Burnt Orange into my crease as a transition shade.
- Underneath the crease color I packed in Warm Taupe on the lid.
- With a tiny blending brush I put Red Ochre in the crease
- With the same tiny blending brush I added Primavera onto the inner third of the eye.
- With a flat brush I applied Warm Taupe underneath the eye.
- With the same flat brush I applied Cyprus Umber as an eyeliner8. I used Too Faced Better Than Sex Mascara on both the top and bottom lashes.
8. Too Faced Better Than Sex Mascara on top and bottom lashes.
9. I’m weird and I contour after nearly everything else. I used the Kat Von D Shade and Light and used the middle shade all over the outside of my face to give it some dimension. Then I used a small blending brush and contoured my nose up to my brow bone.
10. With Shade and Light I took the lightest highlight shade and brushed it under my eyes, on my cheekbones, down my nose, and on my chin.
11. I took the Tarte Amazonian Clay 12-Hour Blush in the shade Paaarty and popped it lightly on my cheeks.
12. Jeffree Star Liquid Lipstick in Androgyny all over lips.
13. Then I sprayed all over my face with Urban Decay All Nighter Setting Spray again! That’s it!
This is my typical go to makeup when I’m going out to a concert or having a night out in general!I hope this helped anybody having trouble making their makeup last a long time.